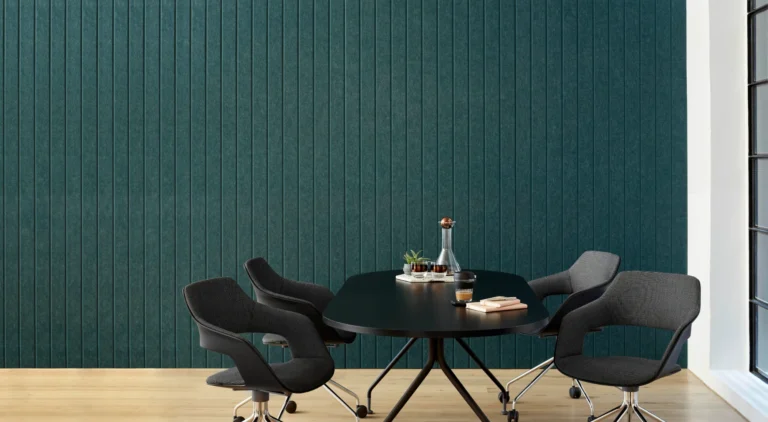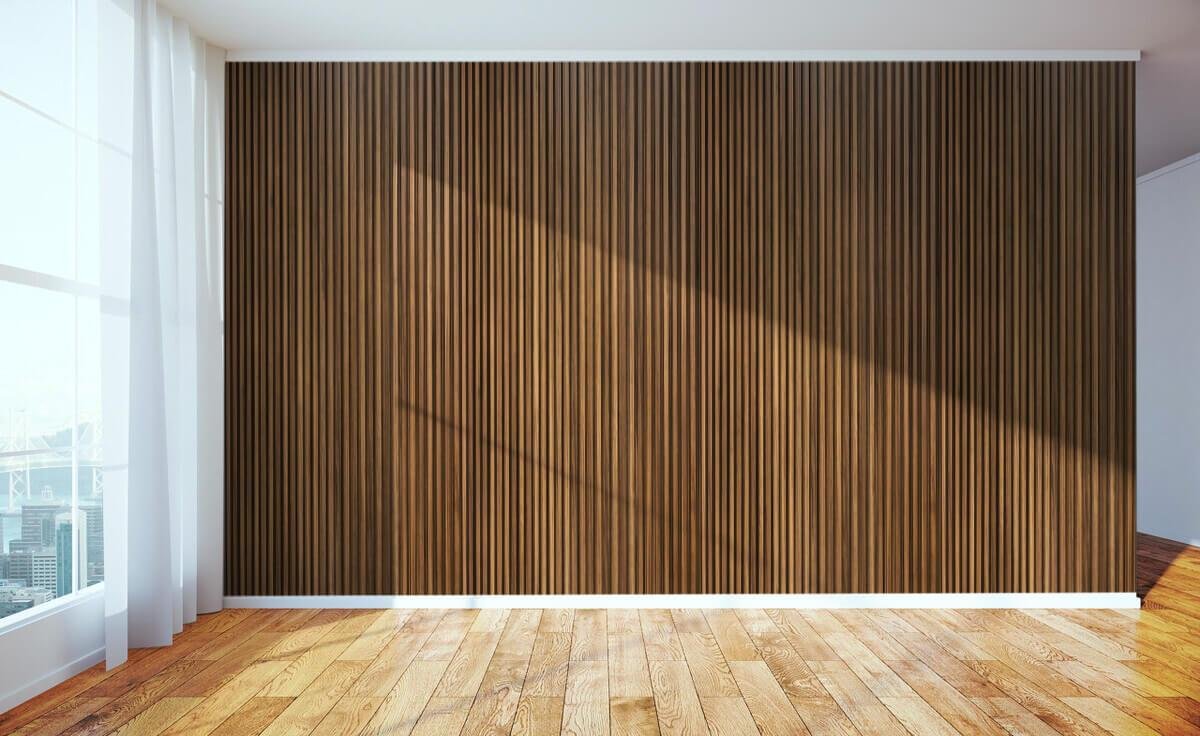
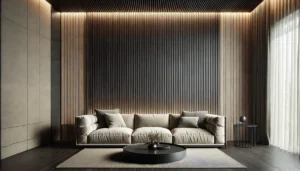
This is a brief set of instructions for installing a feature wall made of our FPC Slat Wall Panels.
The process involves measuring the wall to determine the necessary panel sizes, cutting the panels to the appropriate length, preparing the wall surface for installation, and installing the first panel using mounting clips and screws.
It’s recommended to use a drop saw to cut the panels and to make sure that wall surface is clean and flat before installation. Horizontal timber or aluminium batons are recommended for uneven walls. Each panel is then attached to the next by clipping it in place and making sure that it is level before moving on to the next panel. The last panel may need to be trimmed to size using a Stanley knife, and any necessary cutouts for power points, light switches or TV brackets can also be made using a Stanley knife or multitool.

(1) Measure your wall
Take a tape measure and measure the height and width of the area where you plan to install the feature wall. Typically, FPC panels are installed vertically, Note down the wall height measurement for the next step

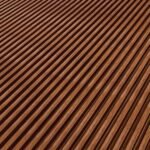
(2) Cut your panels to size
It is necessary to trim each panel to the height of the wall where the FPC panels will be installed. In order to determine what length to cut your FPC panels, measure the width and height of your wall. It may be necessary to install some additional timber battens horizontally before the panels depending on the wall surface you have to ensure a good fit. (Approx. 400mm spacing) We recommend using a drop saw to cut the panels to your desired length.

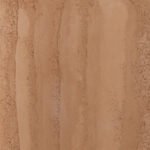
(3) Prep your wall surface
The FPC Slat Wall Panels can be mounted directly on a plaster wall using construction adhesive and the supplied mounting clips. Make sure that your wall surface is clean and flat. The installation of horizontal timber/aluminium batons is recommended for uneven walls, such as brickwork. You can screw these batons directly into the studs on your wall, spaced evenly (400mm – 500mm). By doing this, your slat wall will be straighter, and each panel will have a stronger mounting point.

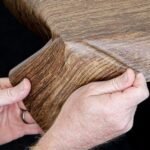
(4) Install your first panel
The first panel should be installed on the left side of your wall. (a small counter sank screw and touched in with paint tends to be best and visually pleasing). Prepare the mounting clips. Each panel should be mounted with mounting clips evenly spaced from top to bottom (on the baton’s face). Hold the panel upto the wall (and tap it gently into the grooved area holding with the left hand, using your right hand apply the mounting clip and screw gently for secure fixing). Each panel clips into the next. Using a spirit level, consistently check the panels as they are installed to ensure they are aligned level.

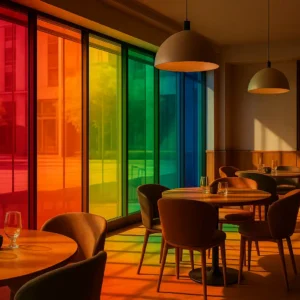
(5) Install your FPC Feature wall
Now you have your first panel in place, each panel can be easily clipped into one another and attached via the screws and mounting clips. Repeat the process until you reach the end of your wall. The last panel’s width can be trimmed to the correct size with a Stanley knife. If you need to cut around power points, light switches or tv brackets you can do so with a Stanley knife or (multitool by marking lines with masking tape).
Installing a feature wall made of FPC panels is a great way to add style to any room in your home. By following the steps outlined in this guide, you’ll be able to create a sleek and professional-looking feature wall.
If you have any questions or need additional information, please don’t hesitate to reach out. You can contact us through our website’s contact form, send us an email, or give us a call. Our team of experts are always happy to assist you in any way we can!
Thanks for reading, and good luck with your FPC feature wall installation!


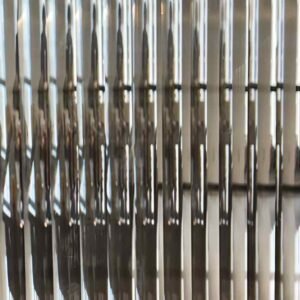
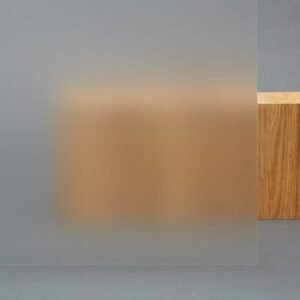
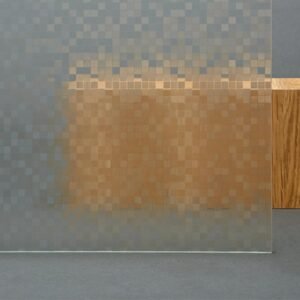
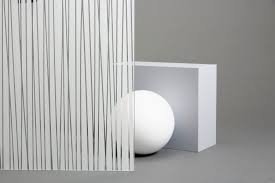
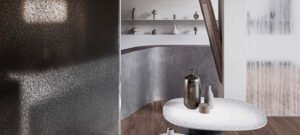
Reeded glass is making waves in modern interior design, celebrated for its ability to combine privacy with style. Whether used in residential or commercial settings,

Open-plan offices have become a popular choice in modern workplace design, offering flexibility, collaboration opportunities, and efficient use of space. However, with these benefits come
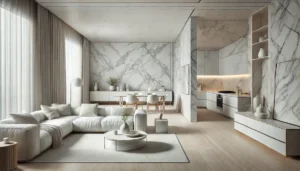
Architectural vinyls have revolutionised the world of interior design, offering a versatile and cost-effective alternative to traditional materials. Whether you’re a homeowner looking to refresh

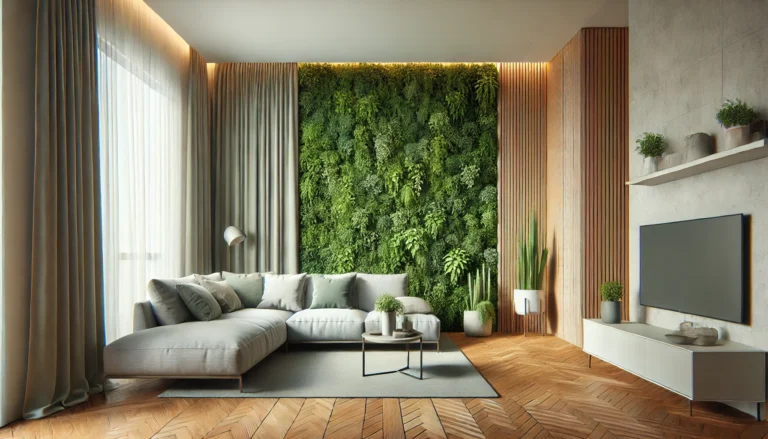
As urban living becomes more common, the desire to connect with nature continues to grow. One of the most effective ways to bring the beauty
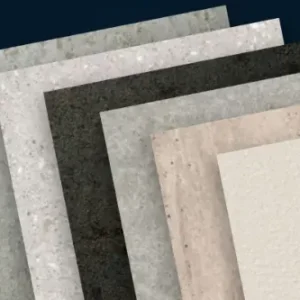
As the world moves towards more sustainable living practices, eco-friendly design solutions have become a top priority for homeowners, designers, and architects alike. FPC (Fibre
In the fast-paced world of commercial design, creating spaces that are both functional and aesthetically pleasing is paramount. Reeded glass films and 3M Fasara films